What Canadians need to know about at-home COVID-19 testing for travel

Posted November 9, 2021 11:28 am.
Last Updated November 25, 2021 6:25 pm.
DISCLAIMER: CityNews has learned that while it is extremely rare, Switch Health test kits may malfunction on occasion. The company says “in the unlikely event of a test malfunction, a refund is issued once Switch Health is notified.”
All travellers coming to Canada from other countries are currently required to take a molecular COVID-19 test even if fully vaccinated with two shots of a Health Canada approved vaccine.
One of the following three tests need to be completed with a negative result:
- Polymerase chain reaction test (PCR)
- Nucleic acid test (NAT) or Nucleic acid amplification test (NAAT),
- Reverse transcription loop-mediated isothermal amplification test (RT-LAMP)
Air Canada recently launched a self-testing pilot program to make it easier for Canadian travellers to fulfill this requirement without having to locate a testing centre while travelling abroad.
Currently, an RT-LAMP test kit is available to purchase only for Aeroplan members during this initial phase of the pilot through Switch Health and costs $149 per test. It is the only at-home test currently approved by Health Canada that is considered valid for return to the country.
If you’re not an Aeroplan member, you will have to sign up in order to purchase a kit.
Plan ahead before you leave the country
- It’s recommended that you plan well in advance and place your order for the testing kit a minimum of two weeks before your departure date. They only ship to Canadian addresses and it may take up to seven business days to arrive.
- You will need to bring the test kit with you on your trip, so make space for the box in your suitcase.
- Avoid opening the box before you need to use it – there are several parts inside and it’s best if they’re all kept together for testing time.
How to use the RT-LAMP test
To start, create a Switch Health account by registering on their portal. Make sure you have a stable internet connection because it will be required to complete the test.
List of testing kit contents:
- Testing device
- Batteries for the testing device
- QR code stickers that are unique to you and your kit
- Nasal swab
- Testing solution (purple liquid)
- Instructions

An RT-LAMP at-home test kit includes, among other items, a swab and testing solution. CITYNEWS/Laura Matte
Conducting the test
Preparation:
- Open the box and read the instructions. Do not open up all the packages inside at once – all pieces must be used in a specific order.
- Blow your nose — it makes the swab tickle a little less and helps move material forward from deep inside your nose for the testing process, helping to provide the most accurate result. Be sure to wash your hands after.
- Open the package containing the device — the small machine that will display your results. Insert the batteries into the device that are included with the kit.
- Place the QR code sticker included in the kit onto your device as per the instructions. Note: they are fragile and can rip. You’re provided with two, just in case you don’t get it on the first try.
Self-administering the test:
Step 1: Log in to your Switch Health account and begin the process to connect with a nurse via video call. The nurse will ask you some questions to verify your identity and then walk you through setting up and conducting the test, step-by-step.
Step 2: You’ll be asked to insert the swab up each nostril for 15 seconds – the nurse will count for you.
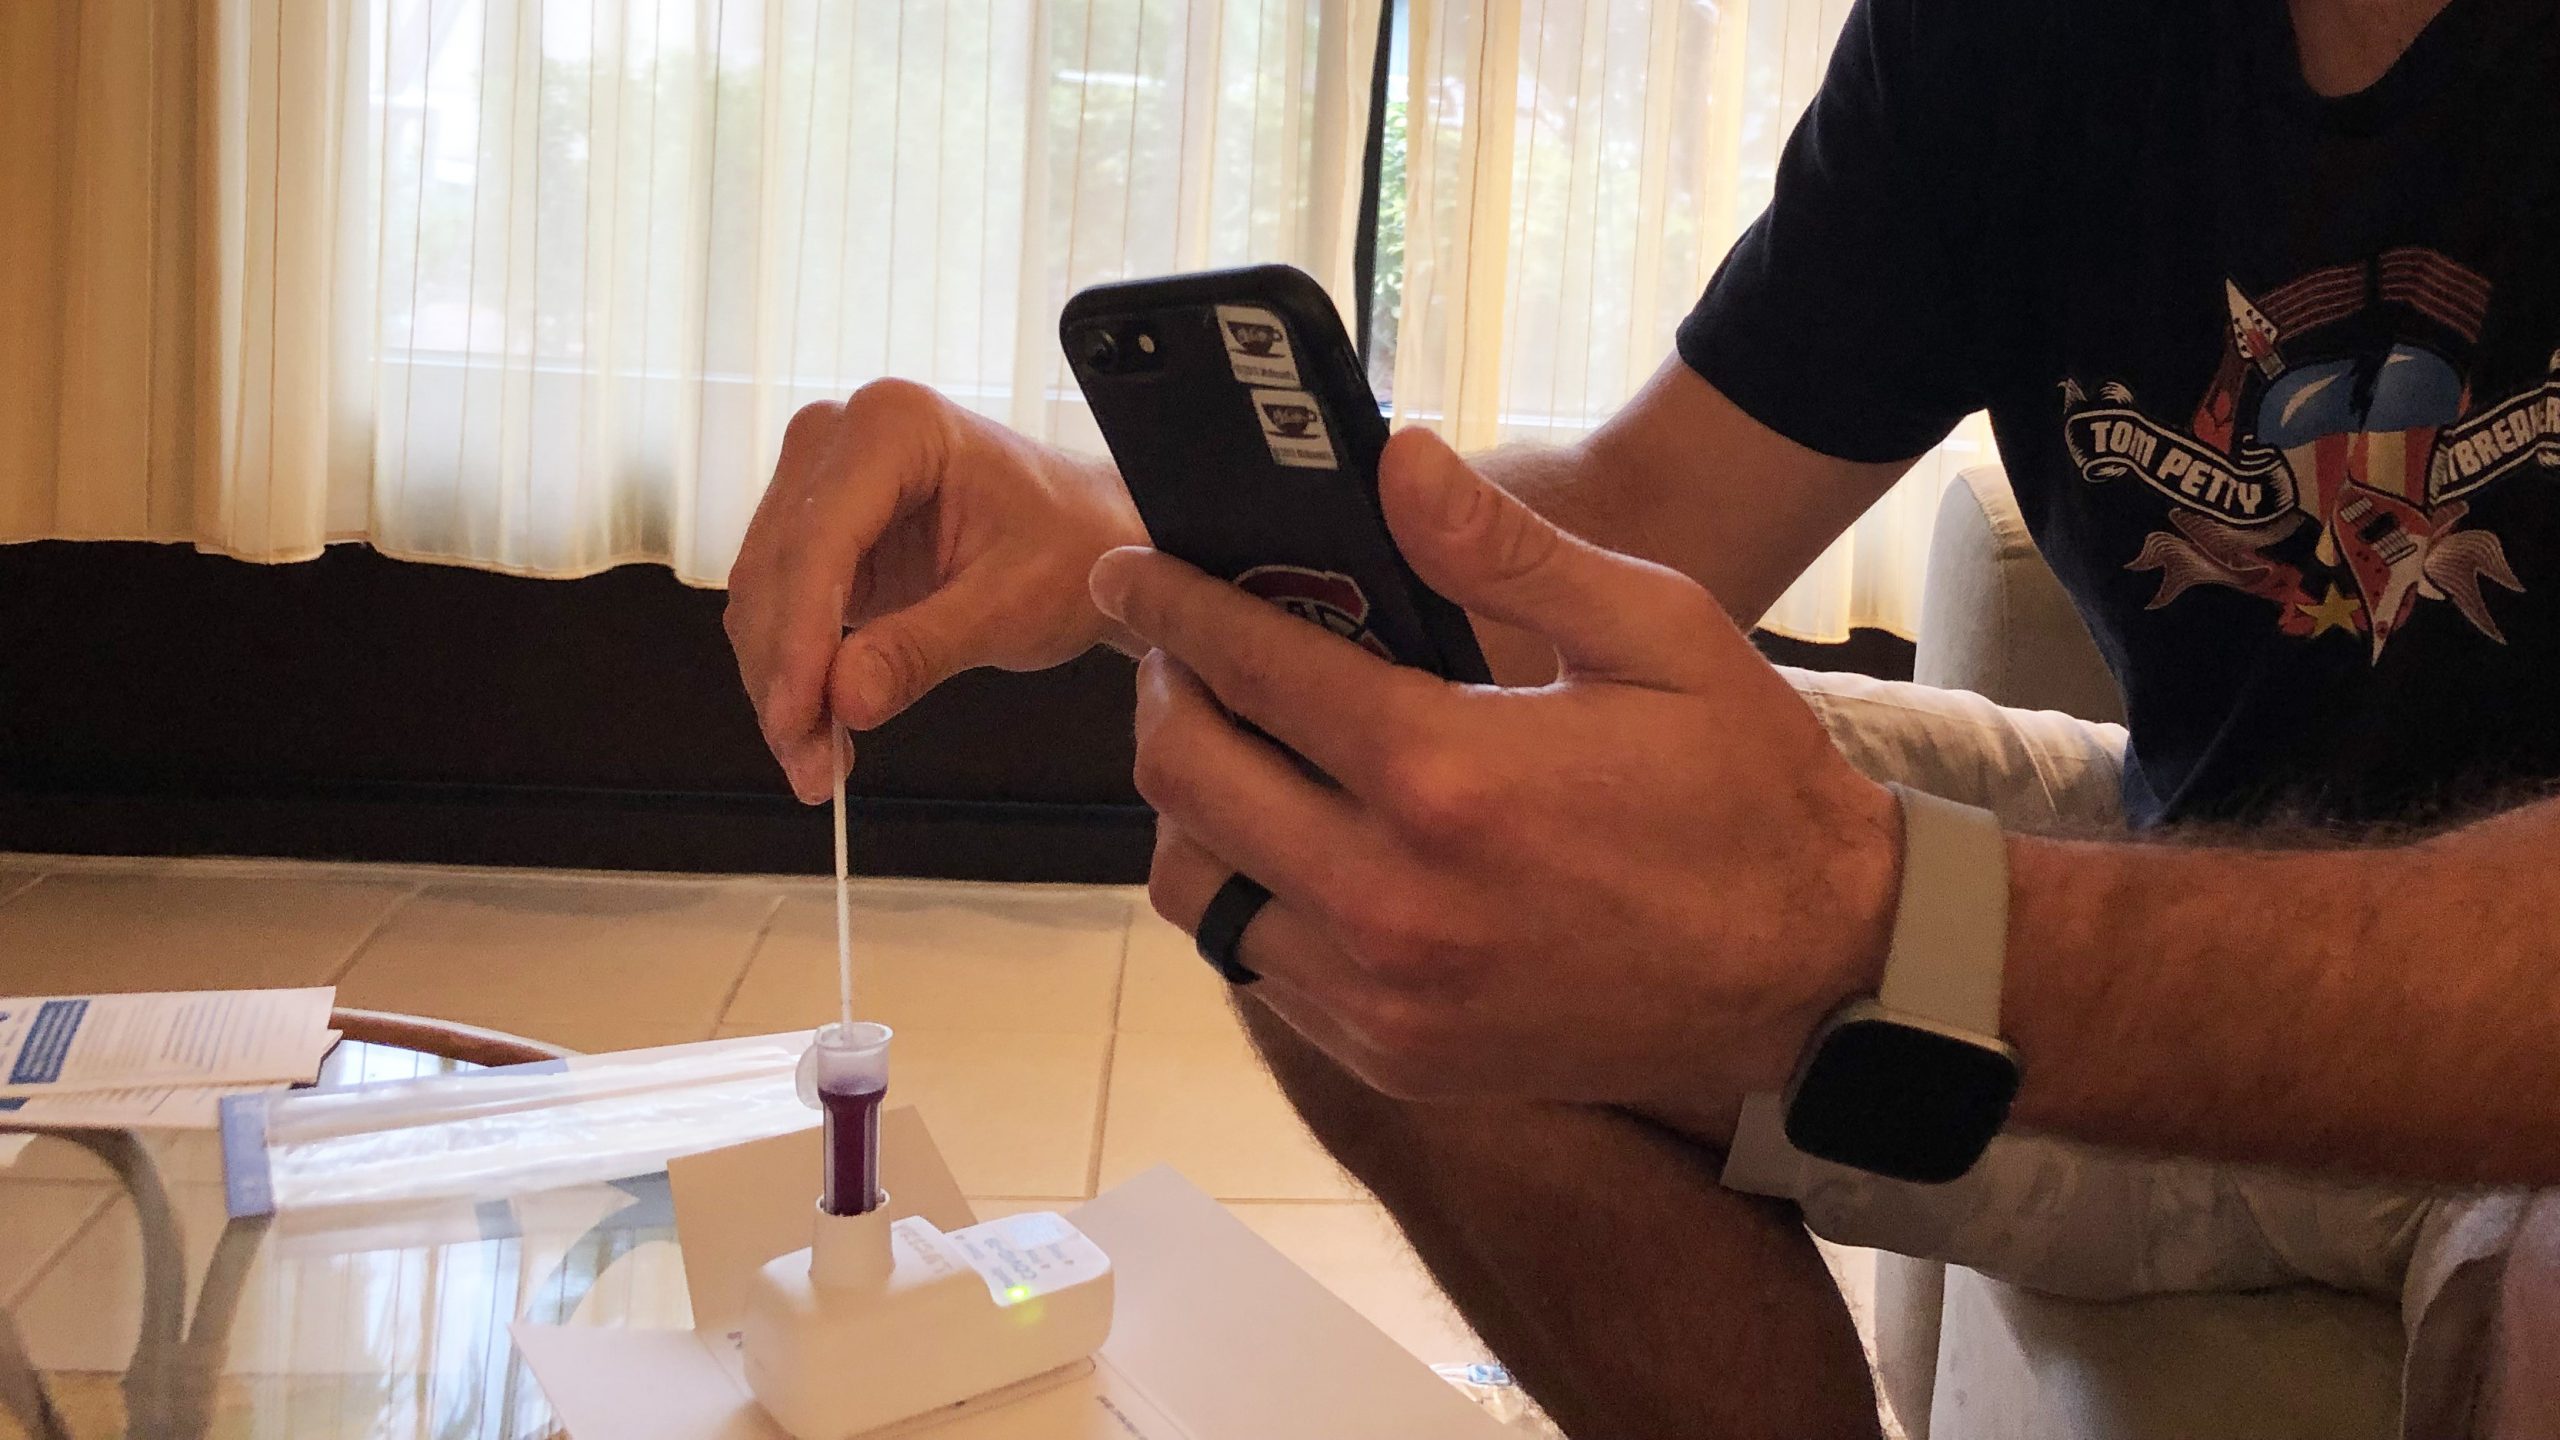
Step 3: Swirl the swab in the container with the purple solution for 10 seconds and then discard the swab.
Step 4: Close the container with the purple solution and press it into the receptacle on the device to begin the analysis. At this point, the nurse will end the call.
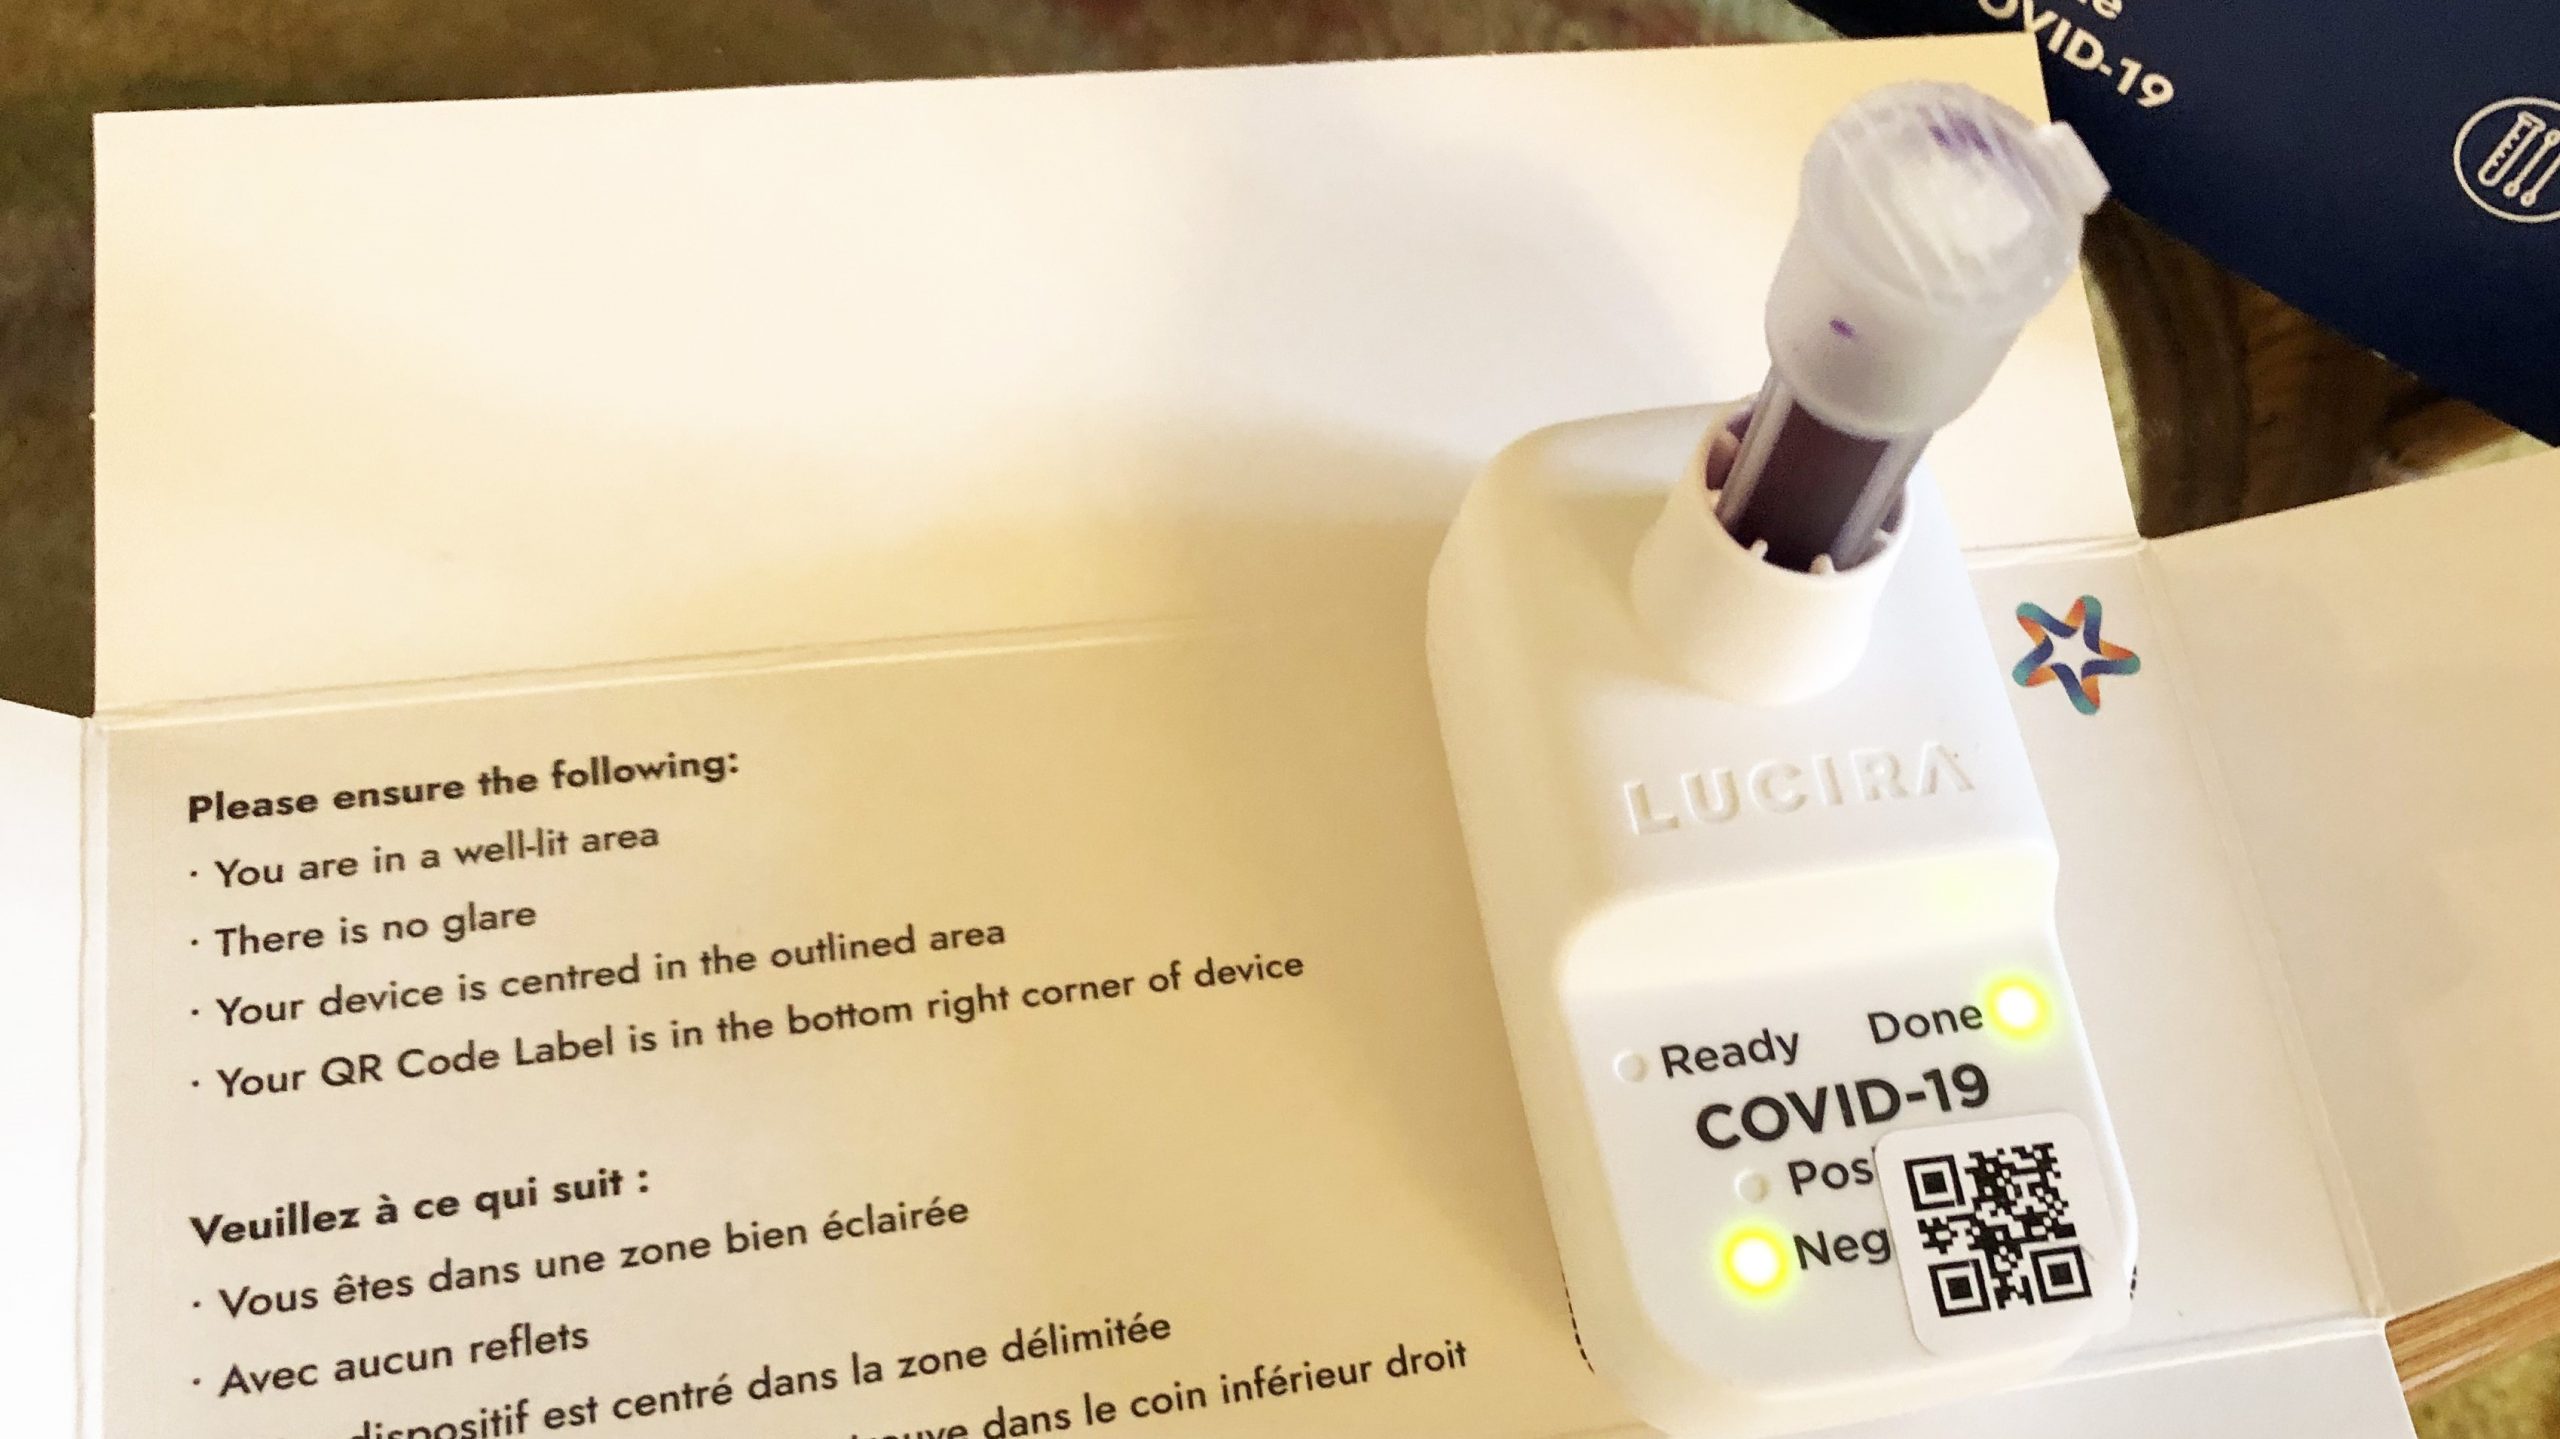
Step 5: A light will flash next to the word “ready” on the device while it is processing and it takes 30 minutes for the results. Once completed, the light next to the word “positive” or “negative” will light up, showing you your result.
Step 6: Once you have your results, log back into your Switch Health account and submit the picture of your device with the results. About 30 minutes later, you will receive an email with your official results, which is the document you will need to present to get back into Canada.
Along with a negative COVID-19 test, all travellers are required to use ArriveCAN to provide mandatory travel information before and after entering Canada. You can either download the app for iPhone or Android devices or use the website.
Click here for more about using ArriveCAN.


